Change the Color of Clothing
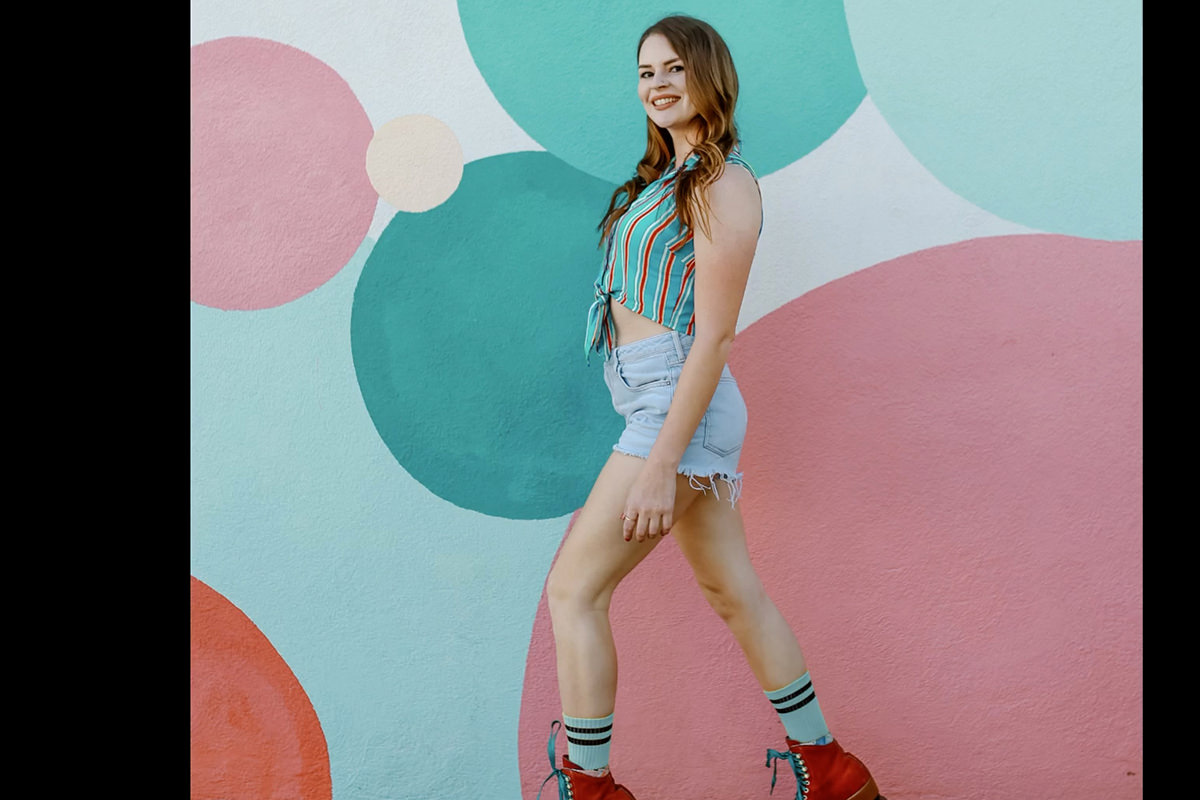
Creating a more cohesive color palette in an image can make for a more pleasing and impactful photograph. Take, for example, a photo of colorful clothing in front of an equally colorful background.
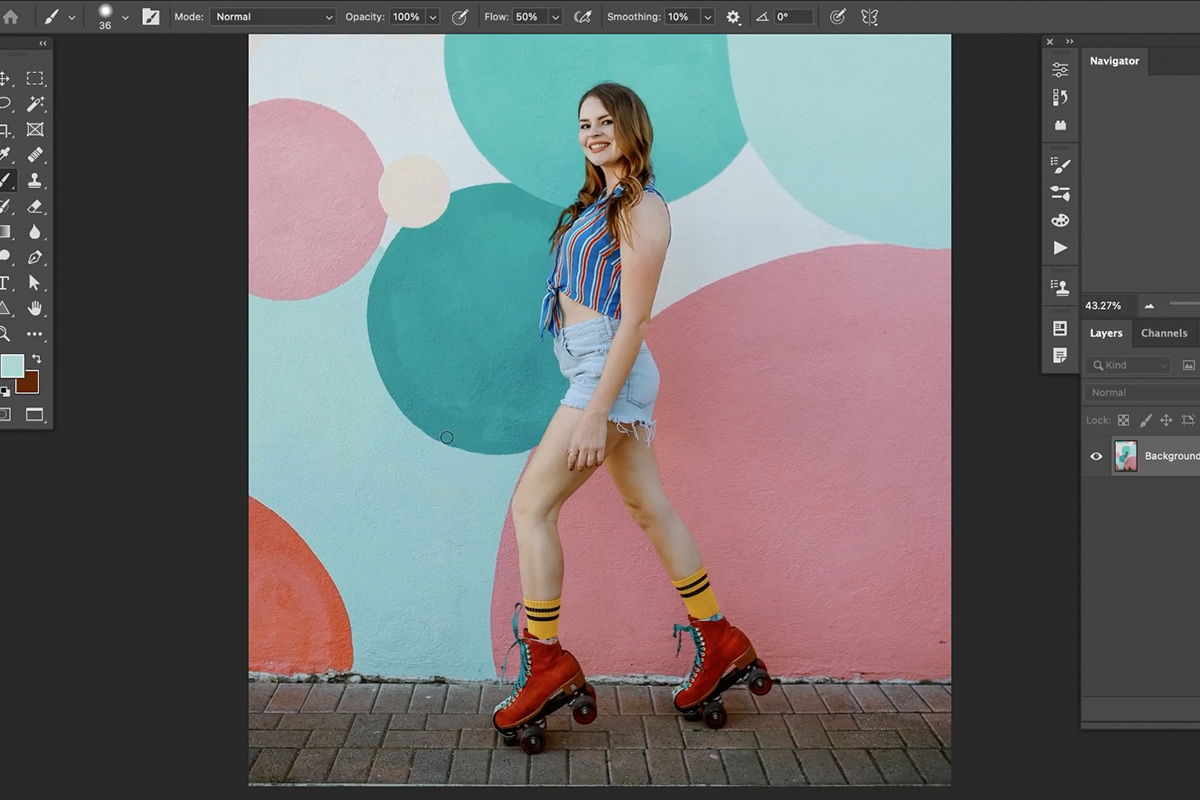
The colors are what make this image pop, but what if we could take it a step further and match the color of the subject’s clothing to more closely match the mural in the background? Let’s give it a try!
Hue/Saturation Adjustment Layers
We often talk about the power of Adjustment Layers in Photoshop. And when you want to change the color of anything, there’s no better tool than the Hue/Saturation Adjustment Layer.
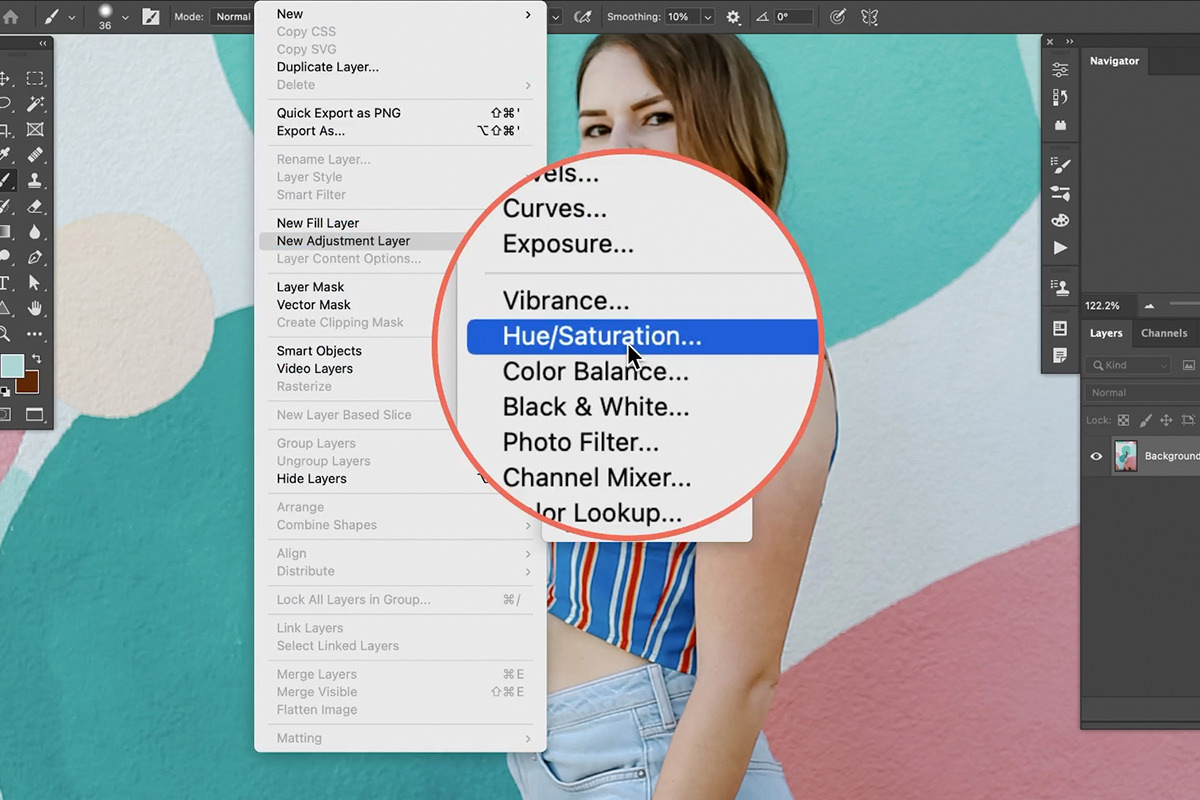
Create a Hue/Saturation Adjustment Layer above the background image. Notice that there are a variety of tools that allow us to define the color ranges that we want to affect.
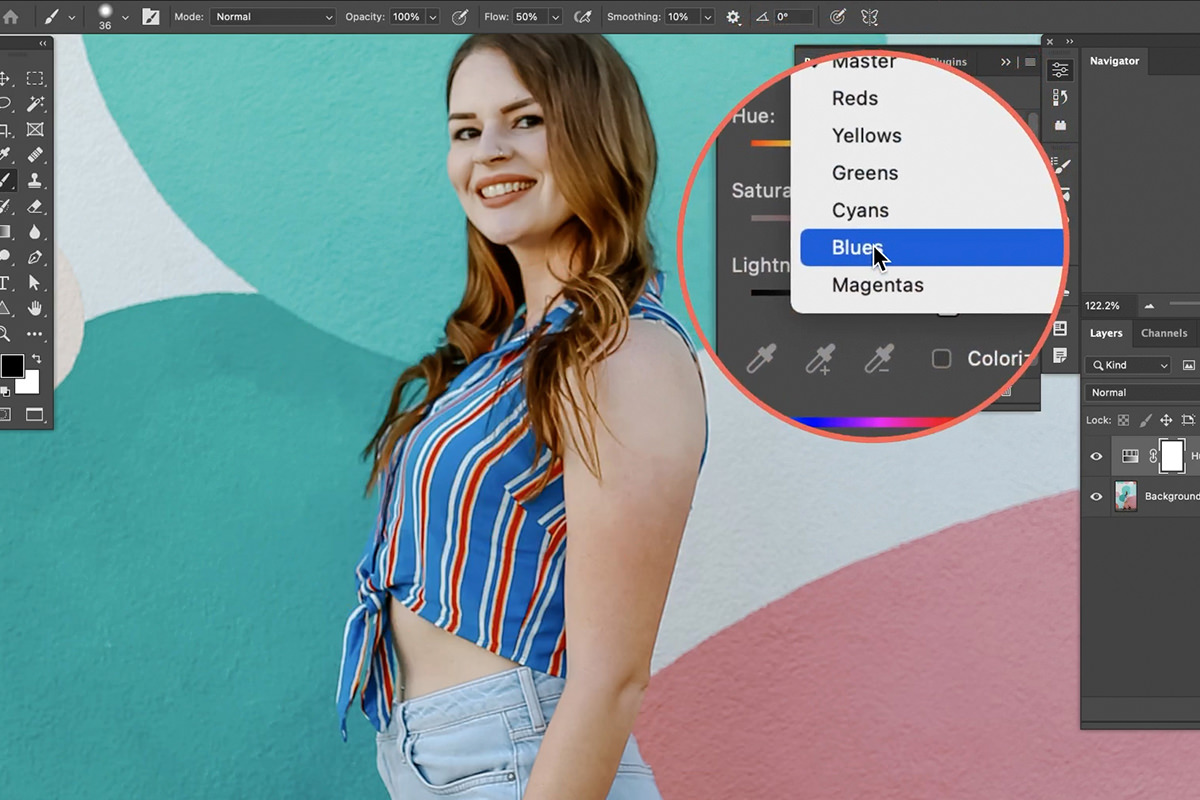
In this particular example, we want to change the color of the subject’s shirt to more of a teal color to match the circles in the background.
Using the top drop-down box, we can select Blues to try and target the blue colors in the shirt.
Once you’ve finished defining the Layer Mask, you’re done! You’ve successfully changed the color of the clothing so that it better matches the background.
But we’re not quite done. Let’s take a look at another technique that uses the Brush Tool to remove some bright colors that might be a little too distracting.
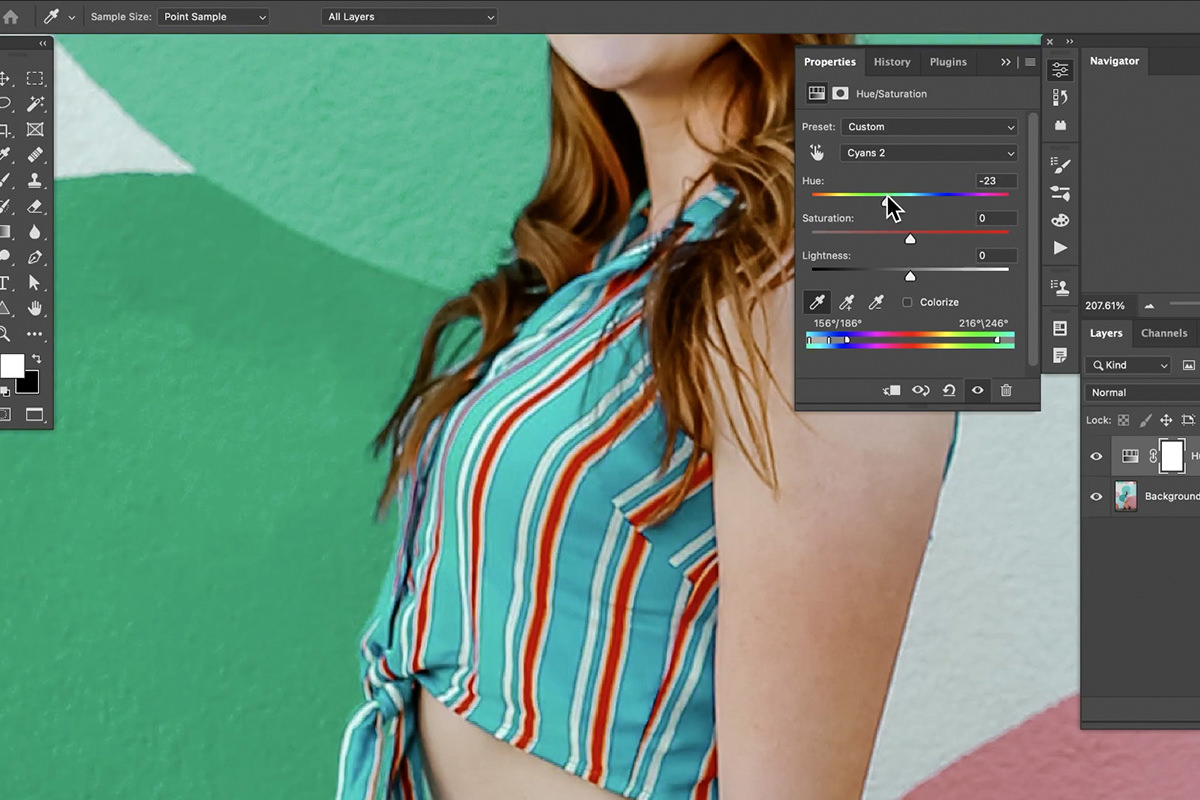
Now when we move the Hue Slider, the blues in the subject’s clothing change. But you’ll also notice that the background colors change as well. Don’t worry too much about this, as we can use a Layer Mask to prevent the Hue/Saturation Adjustment Layer from affecting areas that we don’t want it to.
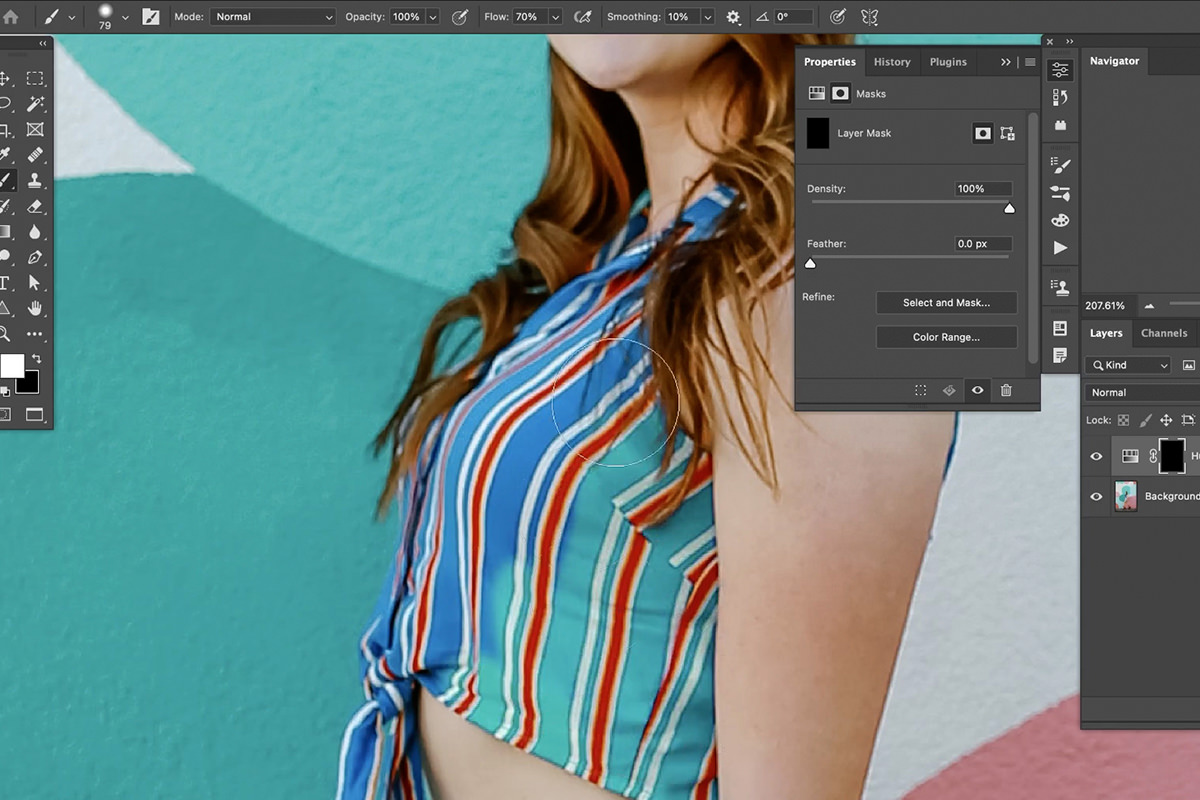
Fill the Layer Mask of the Hue/Saturation Adjustment Layer with black, and then use the Brush Tool to paint white on the Layer Mask where you want the color change to appear–in our case, the subject’s shirt.
The Brush Tool & Blending Modes
You can also change the color of almost anything in a photo by simply painting with the Brush Tool and using Blending Modes to affect the color.
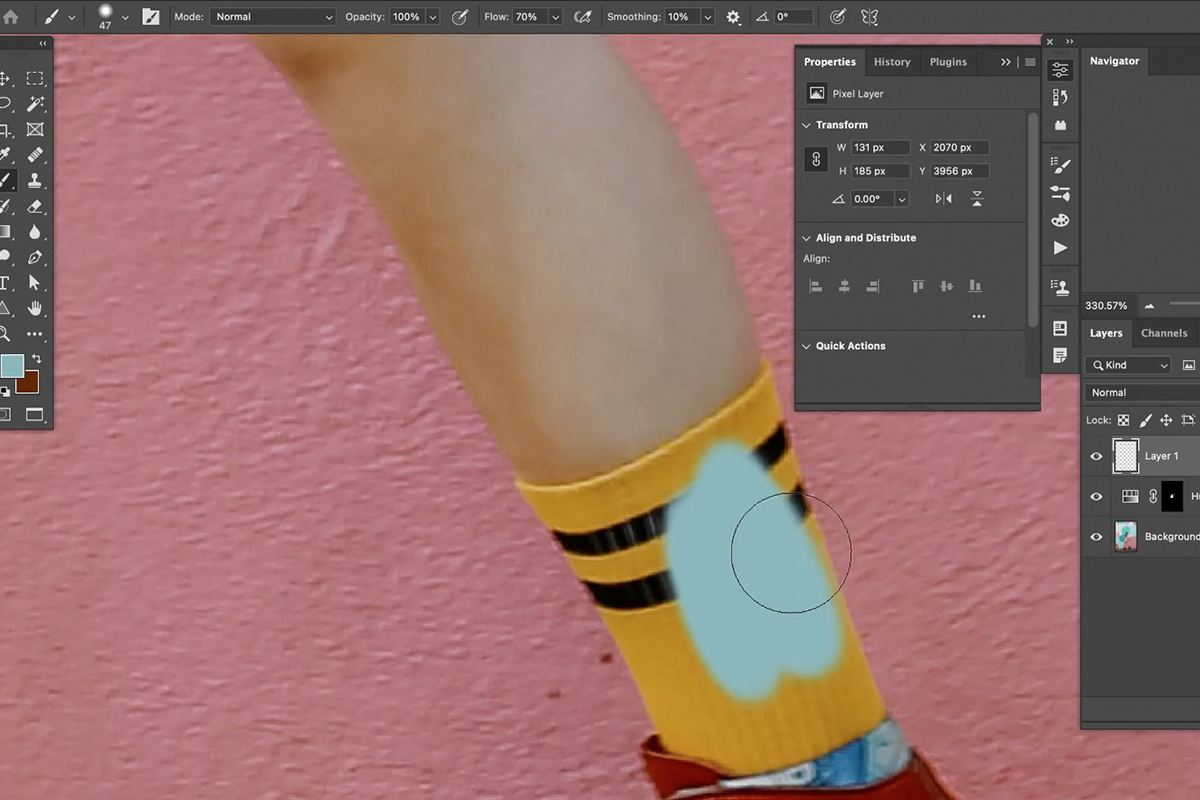
Sample a teal color from the background and, on a new layer, paint over a small area of the subject’s bright yellow socks. We’ve got the color we want, but not the effect–it clearly looks like we just painted over the fabric.
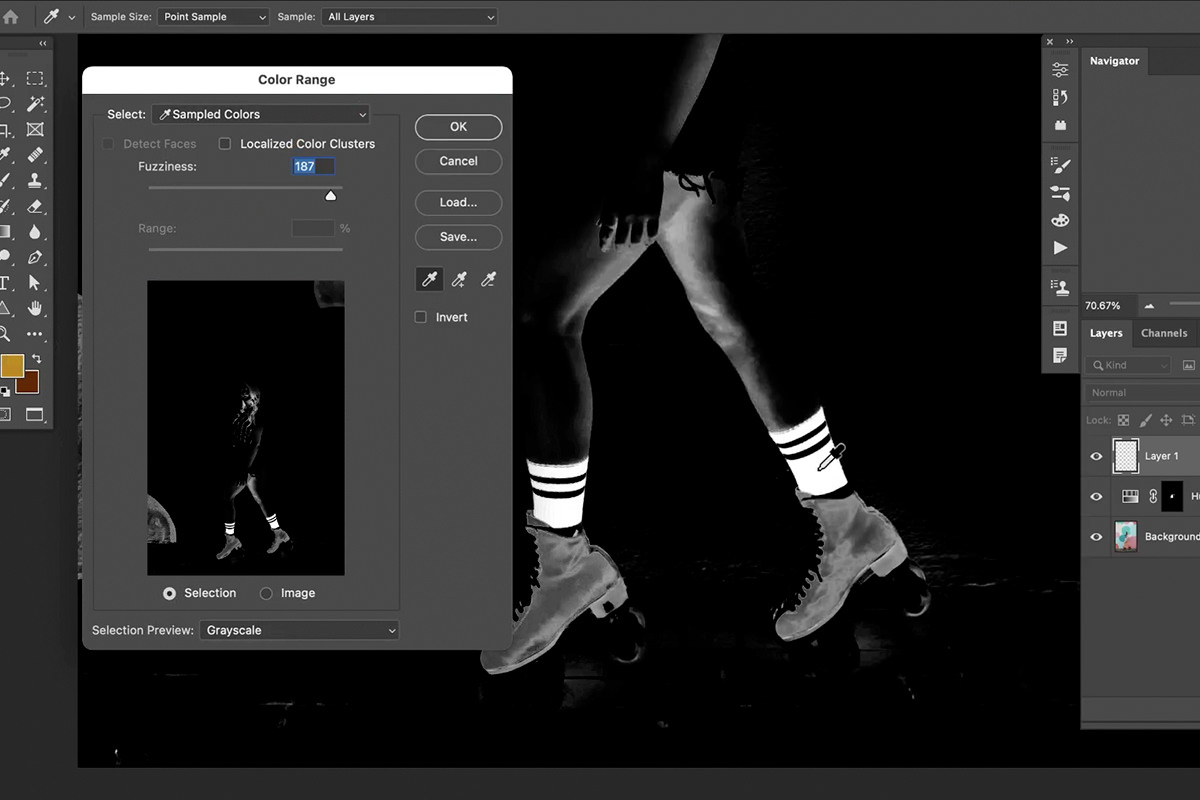
To refine the effect, we’ll first need to make a fairly accurate selection of the areas we want to affect. Since we’re targeting the only bright yellow objects in the image, Select Color Range is the perfect tool for the job.
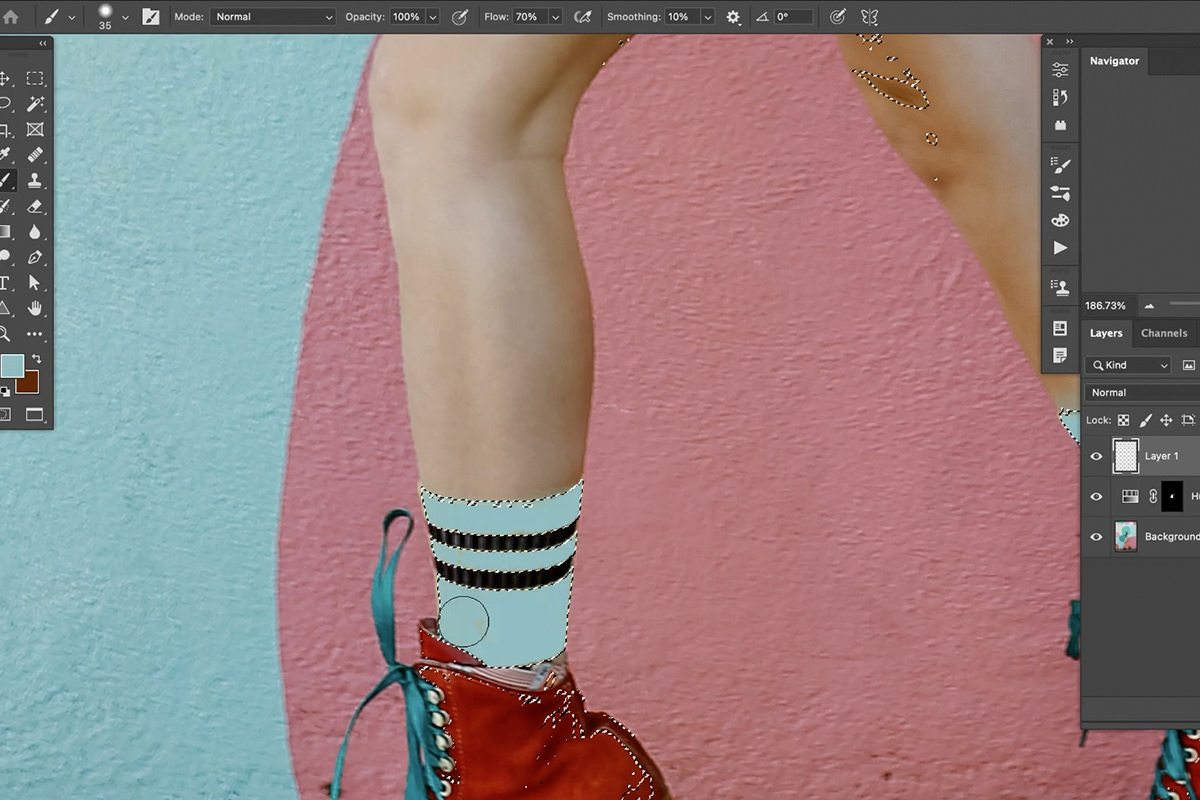
Once you’ve got a selection of the yellow socks, go back to painting over them with that sampled teal color.
Change the Blending Mode of that painted Layer to Color, and you’re good to go!
You should be left with clothing that more closely matches the background and a more cohesive color palette overall!